

Go the the Back Office, then to the Site Dashboard. At this point, if you have permission to create a new Collection/Blog, you will have a big ‘+ New Collection…’ button there. Remember a Blog is a specific kind of Collection. Click this button!
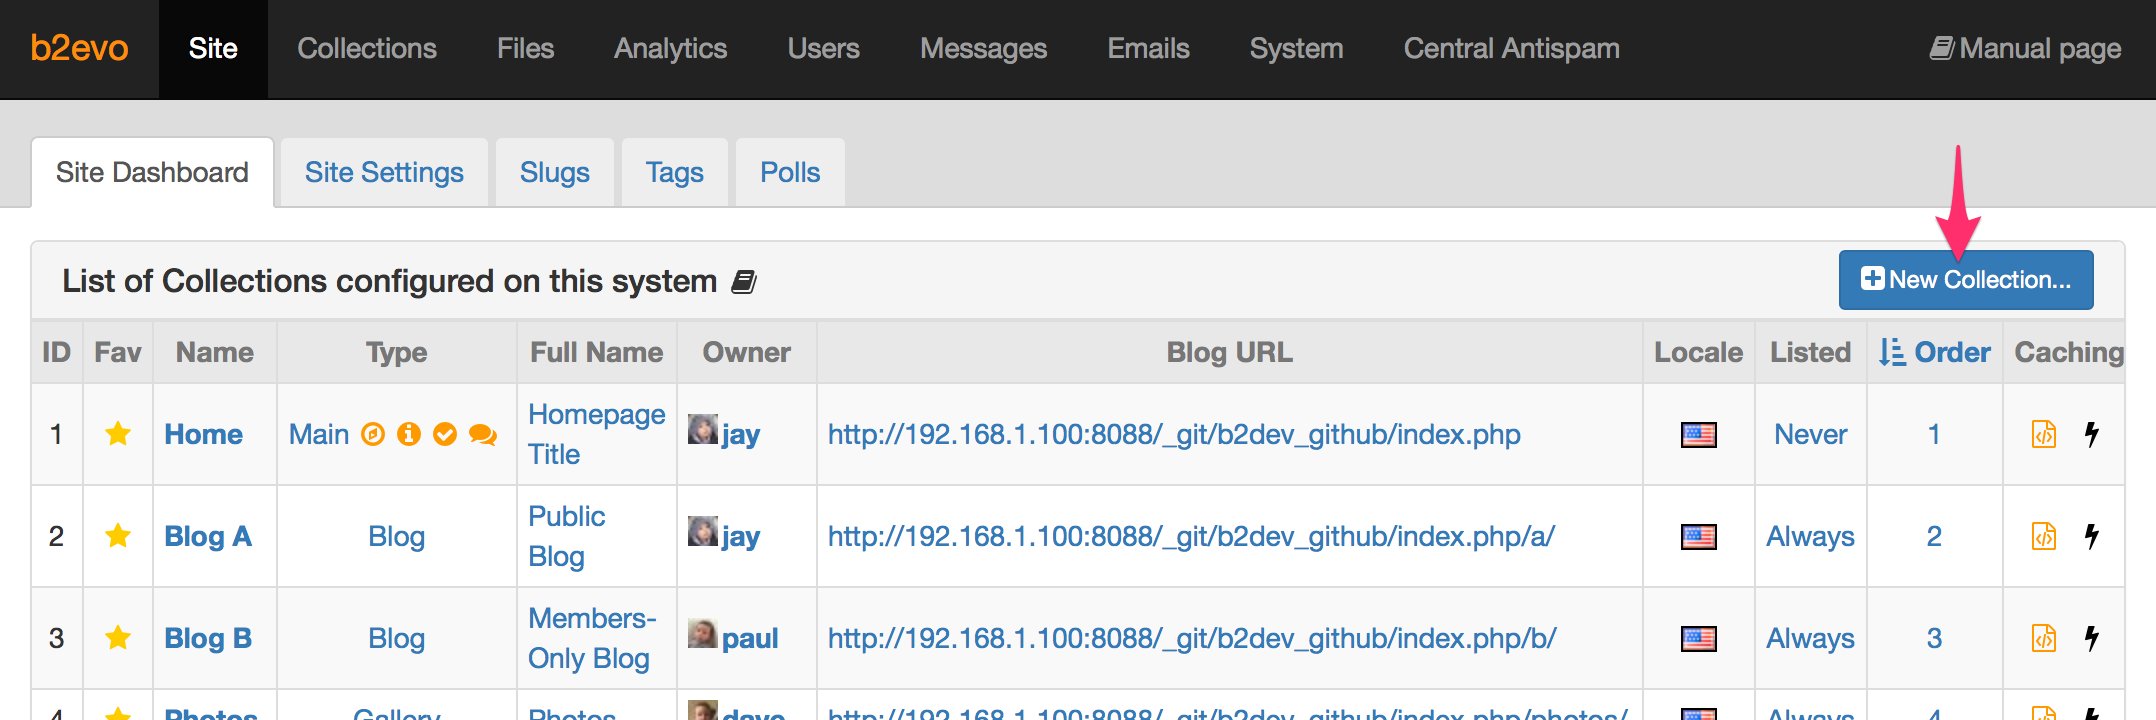
Alternatively, you can also click the big ‘+’ button, on any page in the Collections Tab.

Start by selecting a Collection Kind
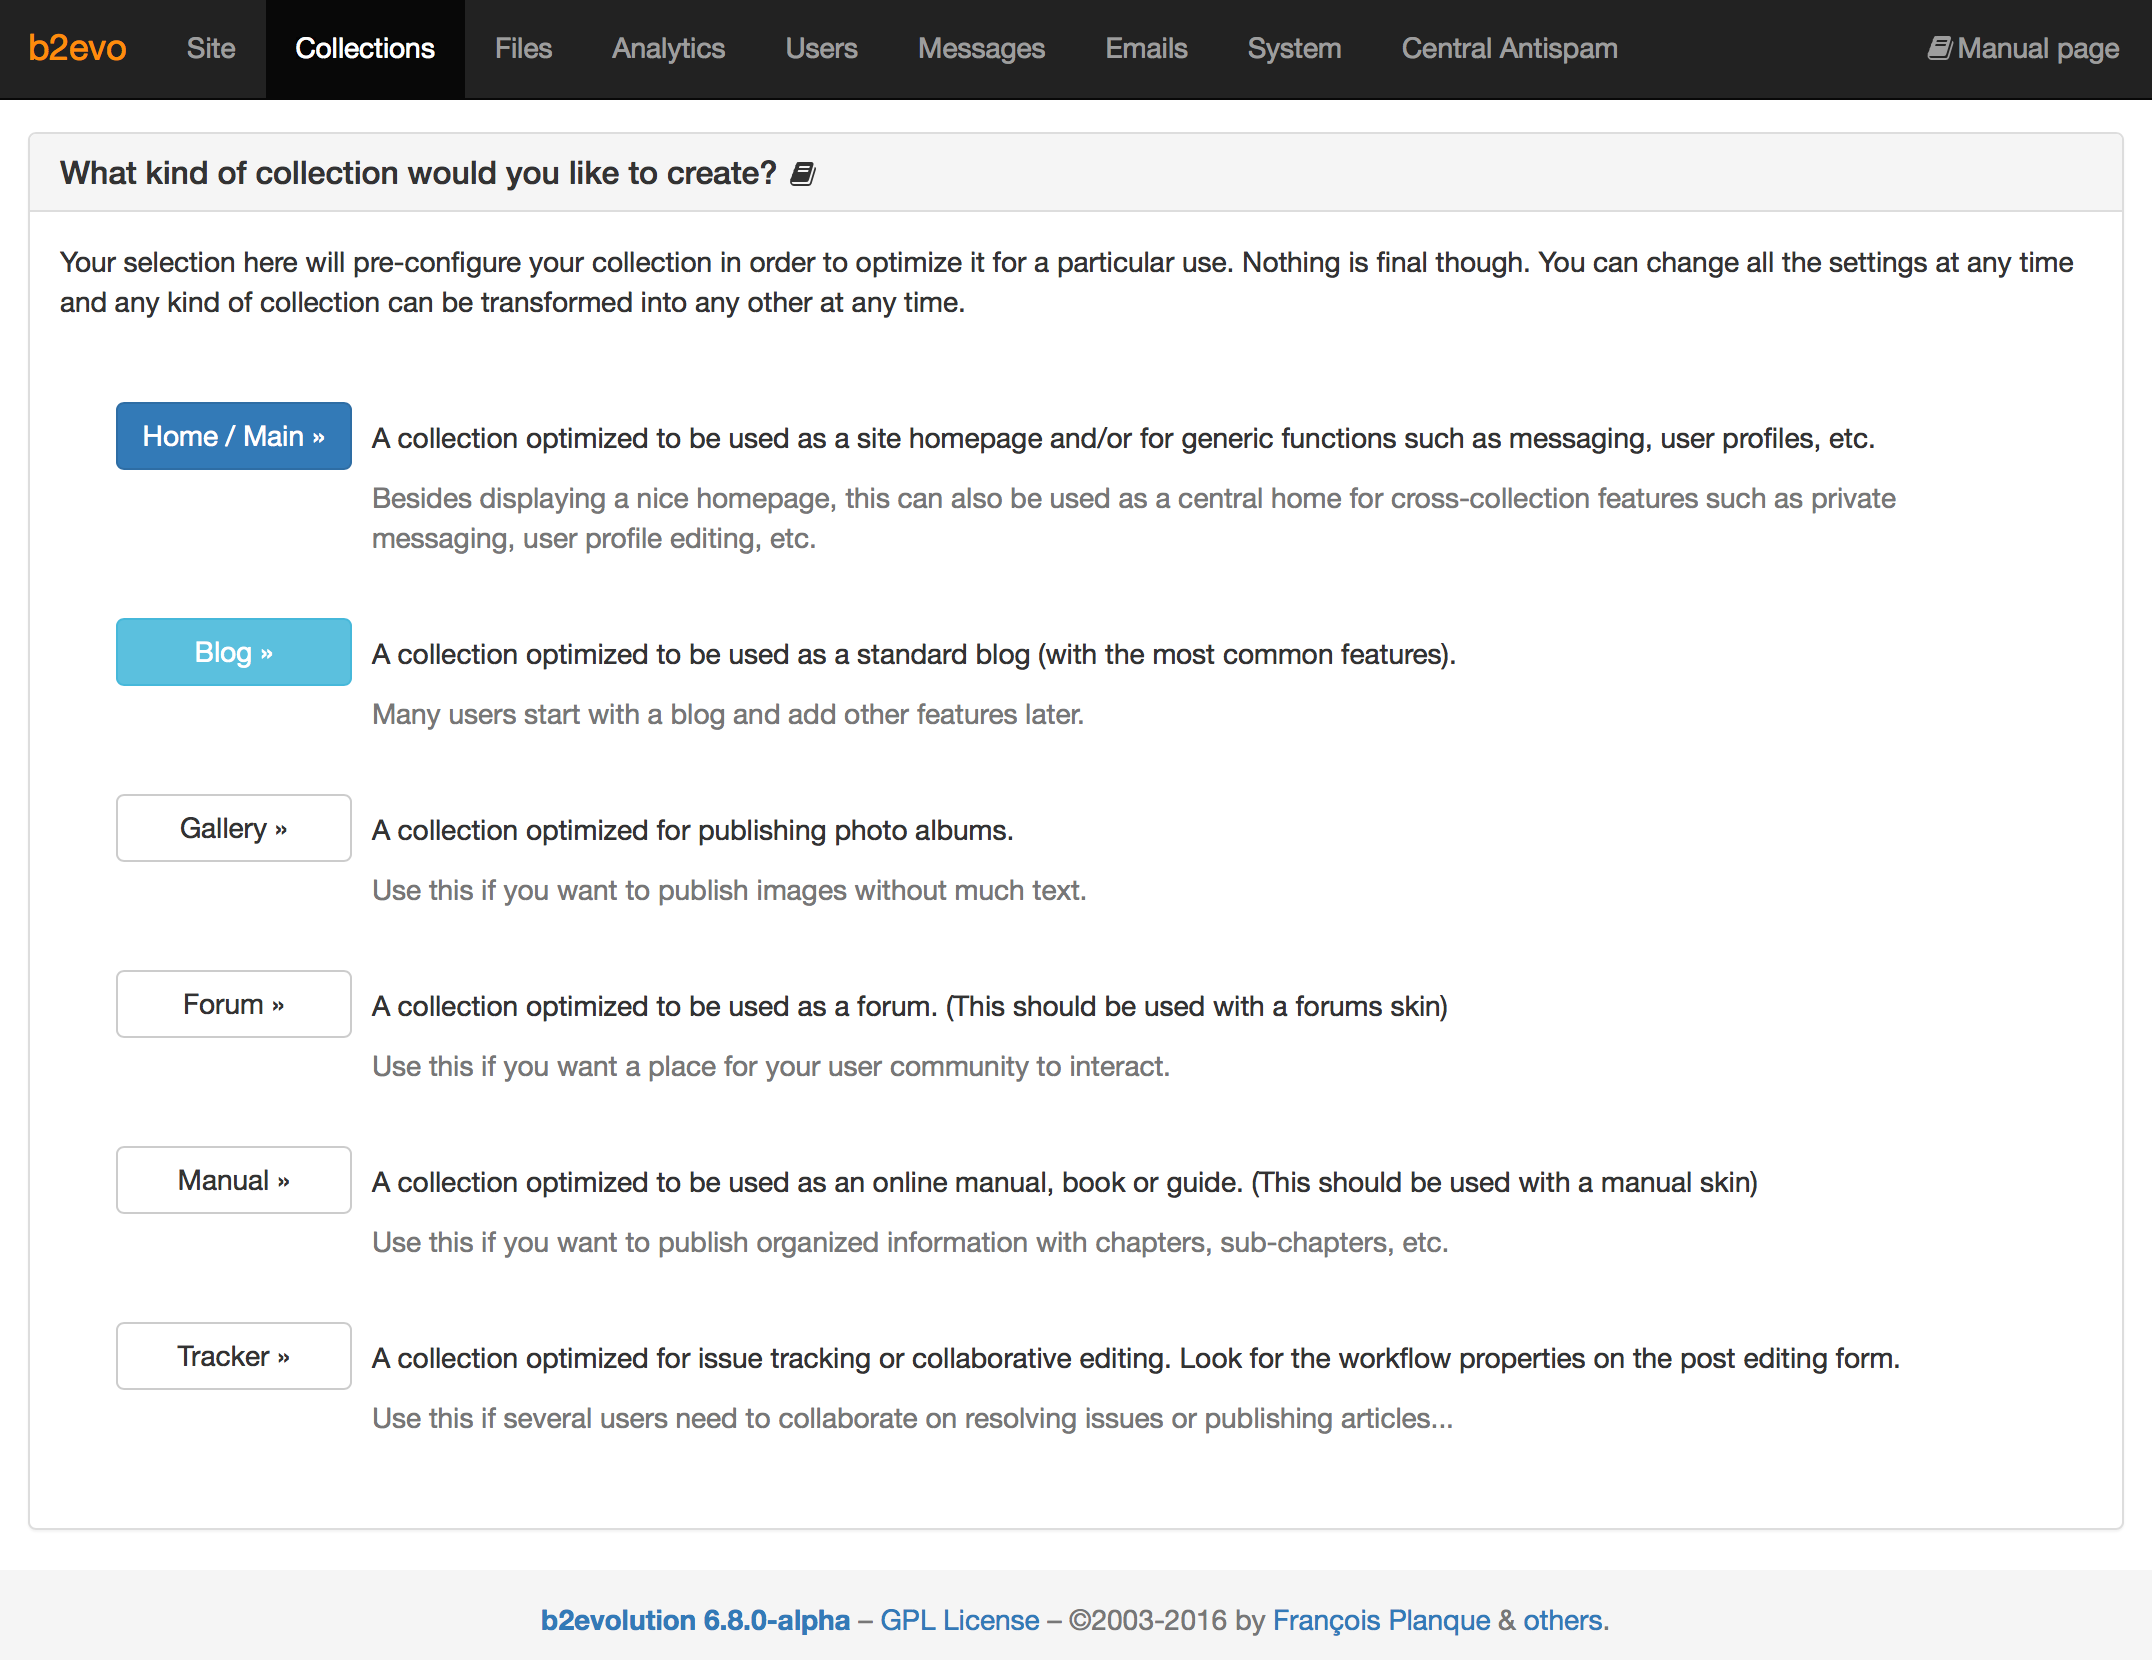
If you want to create a Blog, click on the Blog button.
For more information about this step, see: 1. Selecting a type for the new collection.
Pick a skin for your new collection/blog
For more information about this step, see: 2. Picking a skin for your collection.
Specify the basic settings for your new collection/blog
For more information about this step, see: 3. Specifying the New Collection Settings.
This following is old content. It is here as reference to make sure we talk about these topics somewhere else
- you can set the title of your blog, the skin used to display your blog, and many other settings. Notice also that there are subtabs for this section (General, User Permissions, Group Permissions, Advanced).
- You will probably also want to visit the Categories Tab where you can add, edit, or delete categories for each blog. In this example, you would want to make sure that the category changes you are making are for Blog A. Each blog on your site must have at least one category.