
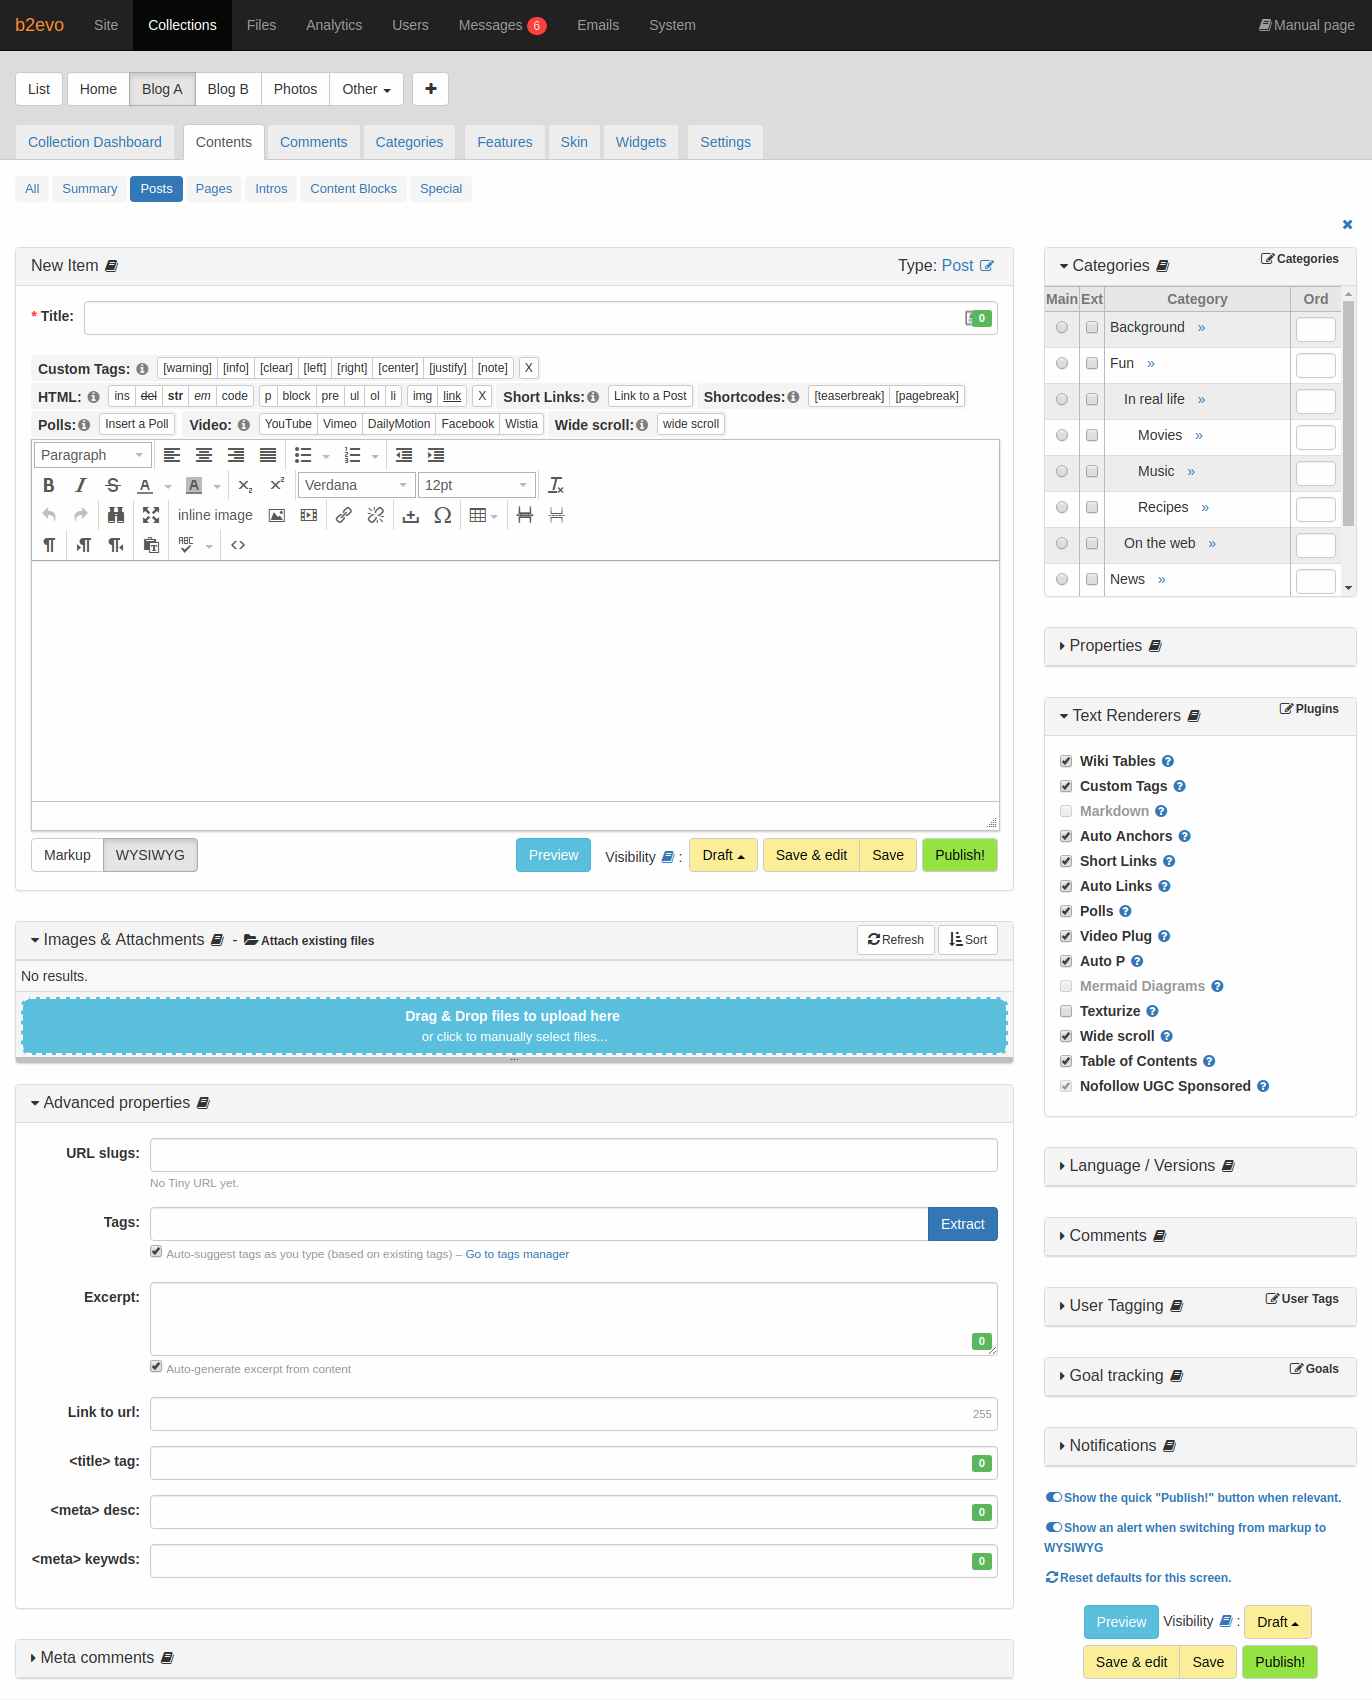
In b2evolution, you can always edit a Post/Item in the Back Office. This is the most complete/full-featured edit screen:
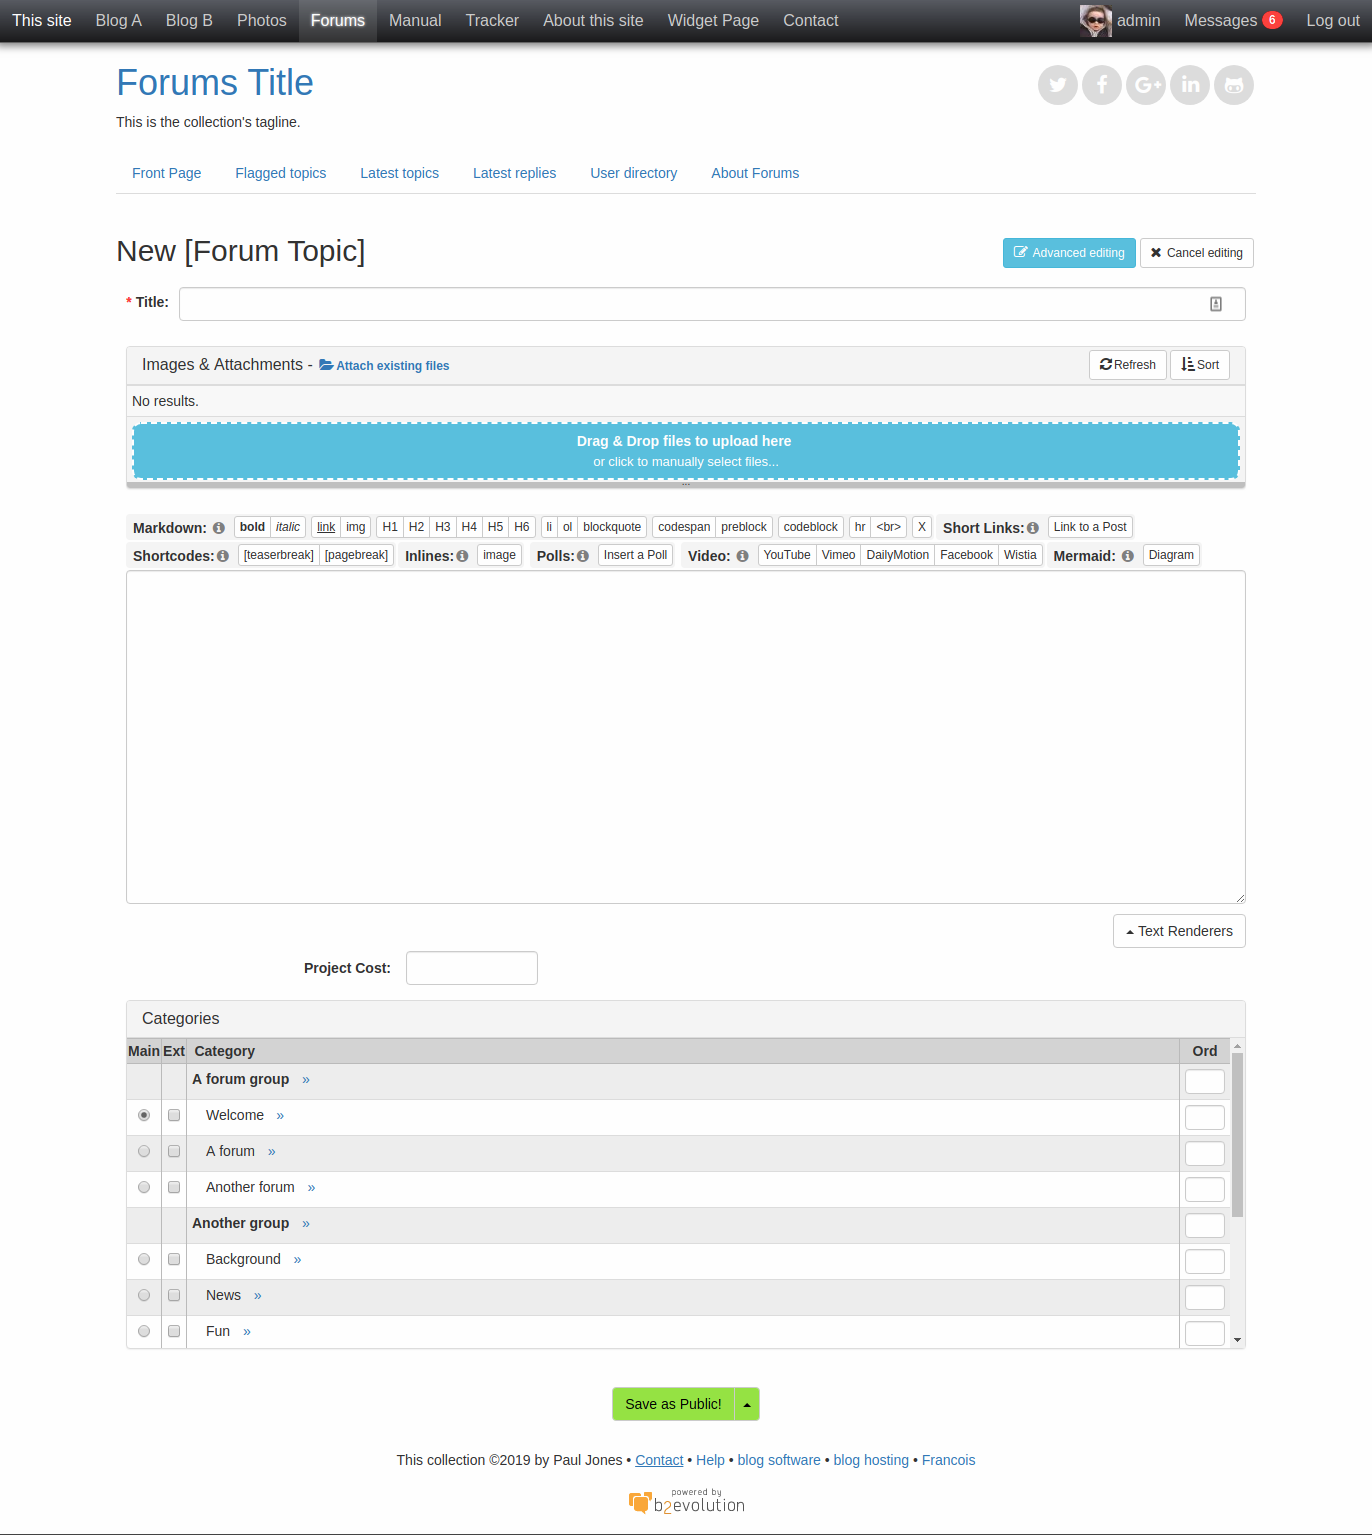
But, in some cases like the one in the Forums collection, it is possible to access a more simplified version of the edit screen in the Front Office. You can enable "In-skin editing" for a collection in the In Skin Action Settings panel under the Advanced Collection Settings.